
Floating docks have spread like wildfire for lake houses, marinas, and even industrial or commercial waterfronts. Building a floating dock that will last and function well requires detailed planning, smart material choices, and a firm grasp of buoyancy calculations. I’ve had the chance to work on a few dock projects, so in this article, I’m sharing what I’ve learned about good floating dock design and practical buoyancy math anyone can get started with.
What to Know Before Designing a Floating Dock
Understanding the basics of floating dock design makes every step easier. A floating dock is a platform that stays on top of the water using buoyant supports instead of pilings or permanent footings. These docks are usually anchored in place and can follow the water level as it rises and falls. This makes them great for places where water levels change often or permanent structures aren’t allowed. The flexibility is also key for adapting to seasonal changes and storms that can roll through unexpectedly.
When I started designing my own dock, I learned that the main design elements come down to these factors: size and shape, intended use, material choices, connection methods, and safety features. I found that matching your dock’s function to your location’s conditions is really important. For example, a dock meant for swimming and lounging will look different from one for launching boats or handling heavy equipment. Extra features like bumpers or swim ladders should always be planned early. Take some time to look at nearby docks in your area for inspiration before finalizing your design.
Entering the World of Buoyancy Calculations
Getting buoyancy calculations right provides peace of mind that your floating dock will actually float. Buoyancy comes from Archimedes’ principle: the upward force is equal to the weight of the water displaced by your floating structure. If you’re new to this concept, here’s how I break it down for a basic dock build:
- Calculate Dock Weight: Add up the weight of all framing, decking, hardware, and flotation devices you plan to use.
- Add Expected Loads: Include the number of people, furniture, or equipment your dock must support.
- Find Flotation Volume Needed: Determine how many cubic feet of flotation you’ll need. Each cubic foot of airfilled plastic or foam supports about 62 pounds of weight (in fresh water).
I once underestimated how much weight could end up on the dock during a family weekend and had to add extra barrels later. Giving yourself a cushion of 25% more buoyancy than you calculate helps prevent surprises, especially when you have guests over or add extra gear like coolers or kayaks. This margin of safety also means you’re prepared if certain floats underperform due to leaks, algae buildup, or uneven loading.
Materials and Construction Choices for Long-Lasting Docks
The materials you choose shape your dock’s experience and lifespan. Wood is easy to source and work with, but it can rot without good maintenance. Aluminum resists corrosion, is light, and requires less upkeep, but it costs more upfront. Recycled plastic lumber stays durable and ecofriendly, making it popular for residential docks. Each material has its own tradeoffs when it comes to cost, maintenance needs, environmental impact, and personal preference for look and feel.
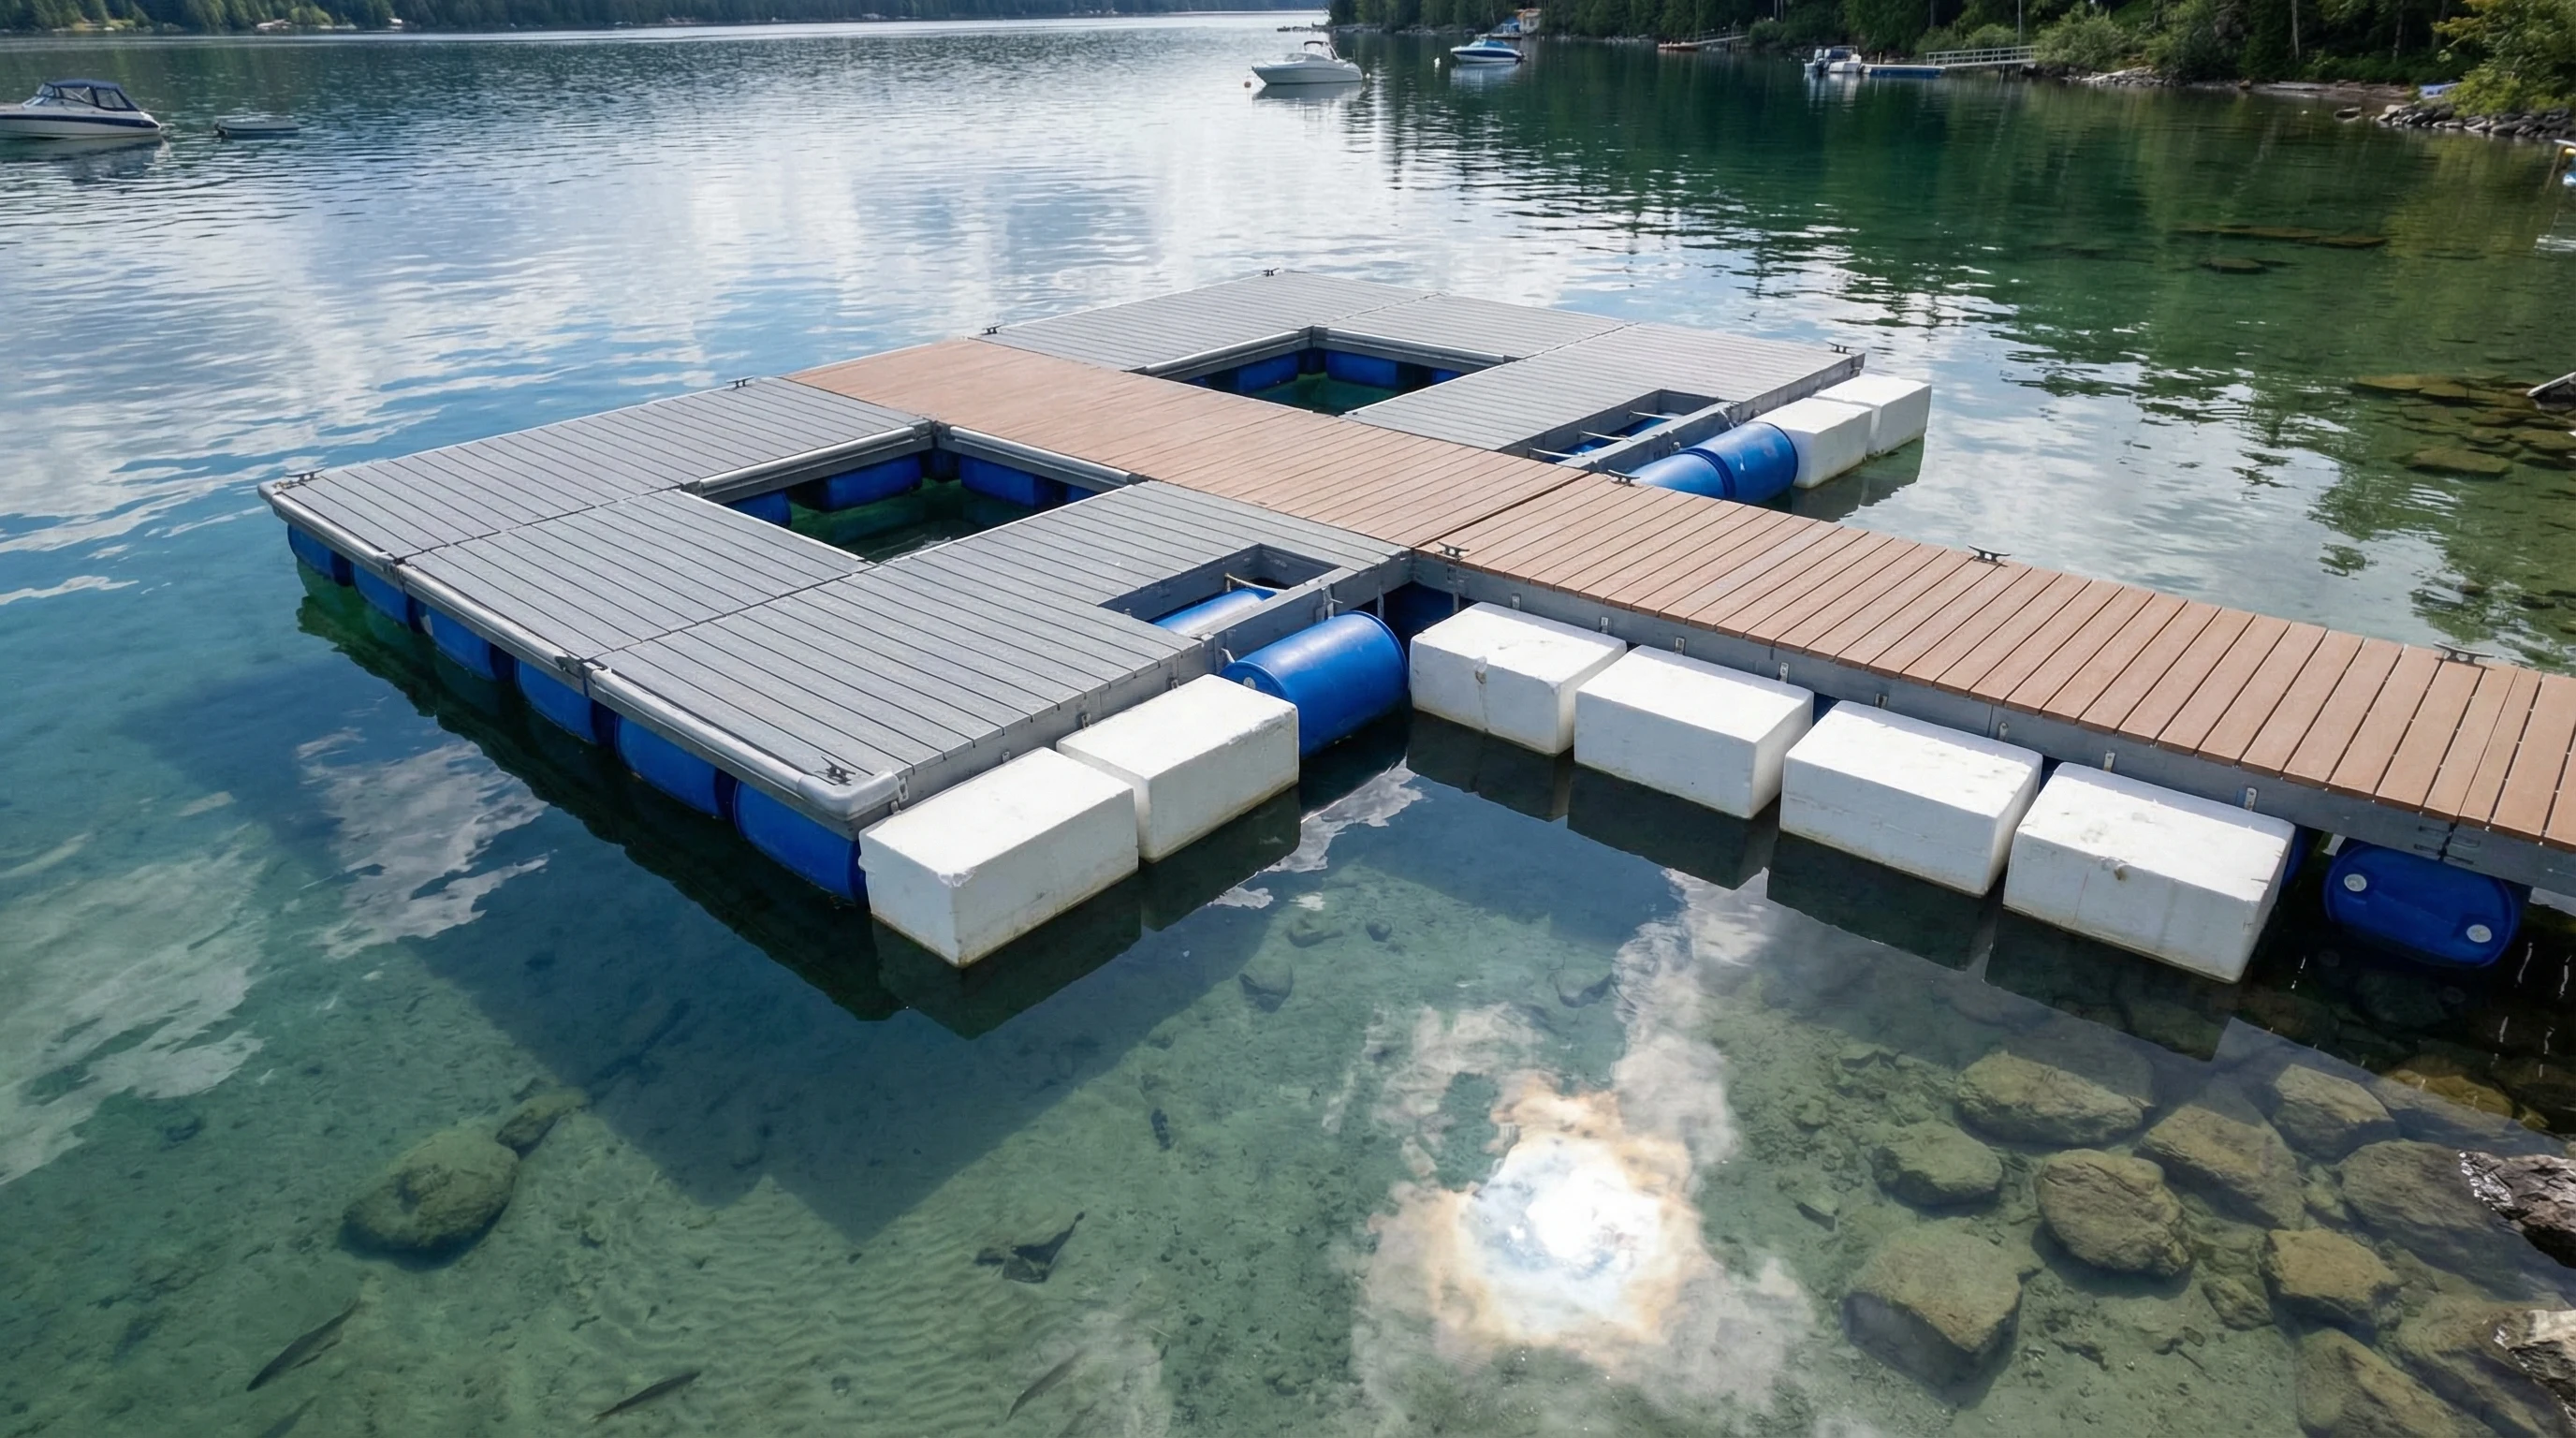
The floatation portion usually relies on plastic barrels, foam blocks, or specialized dock floats. I’ve found that closedcell foam floats won’t fill with water even if punctured, while barrels can take on water if a leak forms. Each option has tradeoffs, so consider your priorities for safety, cost, and longterm maintenance. When picking floats, check the manufacturer’s specs for weight ratings and UV resistance—these can make a real difference in how long your dock lasts.
Connection methods matter just as much. Deck boards bolted directly to the frame may be sturdy, but allow little give as the dock moves. Hinged or flexible couplers let the dock adjust to waves and shifting water levels, which I’ve found really helps with storm resilience. Adding rubber bumpers or pads at the joints can also make the dock safer and more comfortable underfoot, especially for kids and pets.
Step-by-Step Guide to Basic Buoyancy Calculations
I made plenty of sketches on scratch paper figuring out how much flotation my project actually needed. Here’s the straightforward process I follow:
- Add Up All Weights: Frame, deck, floats, hardware, bench seats—anything that goes on the dock and its surface.
- Include Maximum Live Load: The heaviest scenario, like a group of people clustered together or a mower rolling out for maintenance.
- Calculate Required Buoyant Force: Add total weight and multiply by 1.25 for extra safety. This accounts for unexpected guests or rainwater pooling on the deck.
- Convert to Buoyant Volume: For freshwater, divide the total needed buoyant force by 62 pounds per cubic foot to get the minimum float volume. For saltwater, this number is a bit higher.
- Choose Flotation Units: For example, if a barrel is about 7.5 cubic feet, each supports roughly 465 pounds.
Using this method makes it easy to pick the right number and type of floats. It also gives confidence before ordering materials. It’s a good idea to mark float locations on your plans and doublecheck each step to catch mistakes before you commit to a final design. If you add accessories like planters or built-in coolers, include their weight in your calculations too.
Real-Life Dock Design Challenges and Tips
Building and keeping a dock going isn’t just about math. The real world brings plenty of small hurdles. Here are some trouble spots I ran into and what I learned:
- Anchor Points Coming Loose: Using heavierduty hardware and checking tension on lines after storms helped a lot. Adding a backup anchor can provide peace of mind in rough water.
- Dock Tilting: When one side felt heavier (maybe too many people sitting together), adding flotation to the weak side balanced things out. Planning for even weight distribution in your initial design saves time and rework.
- Decking Deck Warping: Using treated or composite boards and leaving gaps for drainage stops buckling in sunlight.
- Plastic Barrel Leaks: Always check for leaks before installation and keep a couple of backup barrels on hand just in case. Periodic inspections during the season are worth the minimal hassle.
Tackling these challenges up front made my dock last through a few rough seasons without big headaches. Staying sharp with small checks makes a big difference and saves time and money long term.
Typical Dock Materials: Pros and Cons
Wood: Classic feel, can be high maintenance and prone to splinters over time. Pressure treated lumber is a must but watch for weathering and replace boards when needed.
Aluminum: Light, rustproof, and long-lasting, but can be pricey. Excellent for exposed sites or saltwater locations where salt spray can attack steel or untreated hardware.
Composite/Plastic: Splinter free and rot-resistant, especially good for ‘set it and forget it’ docks. They may heat up in direct sun, so consider lighter colors for comfort.
Barrels vs. Foam: Barrels are affordable but must be sealed perfectly. Closedcell foam floats are more expensive but don’t leak, offering extra safety for children and non-swimmers.
Smart Practices for Building and Maintaining a Floating Dock
The initial design is only half the job. Keeping your dock in shape means regular checks on flotation, anchors, and deck boards. Here are some practices that worked for me:
- Check anchor lines and replace them before signs of major wear. Retying knots and using chafeguard sleeves adds years of life to your lines.
- Inspect floats for punctures, leaks, or UV damage every year. Floating debris and sun exposure can eat away at flotation materials over time.
- Clear debris and keep leaves off deck boards to prevent rot or mold. Use a broom or blower regularly, especially in shaded or tree covered spots.
- Make a habit of tightening hardware every spring and fall. Loose hardware can lead to bigger issues, like boards shifting or floats popping loose unexpectedly.
These simple steps helped my dock survive everything from summer storms to winter freezeup. Skipping these can create small problems that become big headaches later. Little bits of care add up to more reliable performance and can keep emergencies from ruining your weekend plans.
Frequently Asked Questions About Floating Dock Design
Question: How much weight can a floating dock hold?
Answer: It depends on the total flotation volume. Freshwater docks support about 62 pounds per cubic foot of float. Always calculate the total load, add a margin, and confirm the floatation can easily handle it. Doublecheck your math before building and don’t skimp on test loading before use.
Question: Are foam dock floats better than plastic barrels?
Answer: Foam offers peace of mind because it won’t fill with water. Barrels work well if sealed and inspected regularly, and are often cheaper. For public docks, I lean toward foam for extra safety. Whichever you pick, routine inspections keep both options working safely.
Question: Should floating docks be removed for winter?
Answer: It depends on your climate. In areas with ice, pulling your dock out can prevent damage. Warmer areas may only need to loosen anchor lines to deal with changing water levels. If you’re unsure, check with neighbors or local marinas to pick up area-specific tips.
Real-World Uses and Creative Dock Designs
Floating docks aren’t limited to lakeside cabins. I’ve seen them used as kayak launches, swim platforms, outdoor dining spaces, and work platforms for boat repairs. Some creative designs even include builtin benches, pergolas, or solar lighting. Here are a few ideas I think are worth considering to take things up a notch:
- Lshaped docks to create a swimming cove or protect boats from wave action
- Modular sections that can be rearranged for different uses throughout the season
- Extrawide platforms for events and gatherings or group yoga sessions by the water
Seeing how others use their docks can spark great ideas for your own project. It’s a good idea to spend time at marinas, ask neighbors, and browse dock builder websites like Dockwa’s dock design guide for fresh ideas. Take lots of notes when talking to seasoned dock owners—they’ll have stories and hard-earned advice money can’t buy!
Building a floating dock is one project that really rewards good planning and accurate math. A well-planned dock brings years of safe and simple enjoyment by the water and makes life a lot more fun every summer.