Building your own seawall often seems like a great way to save money and protect waterfront property, but real-world experience shows that DIY seawall projects can present several tricky challenges. I’ve seen firsthand how even small mistakes can lead to larger headaches: erosion, leaks, or wall failure. Knowing what can go wrong and how to handle these issues is a great way to improve your results and keep your shoreline stable. This article will explain common problems I’ve faced and the best ways to troubleshoot them when working on a DIY seawall.
Understanding the Basics of Seawall Installation
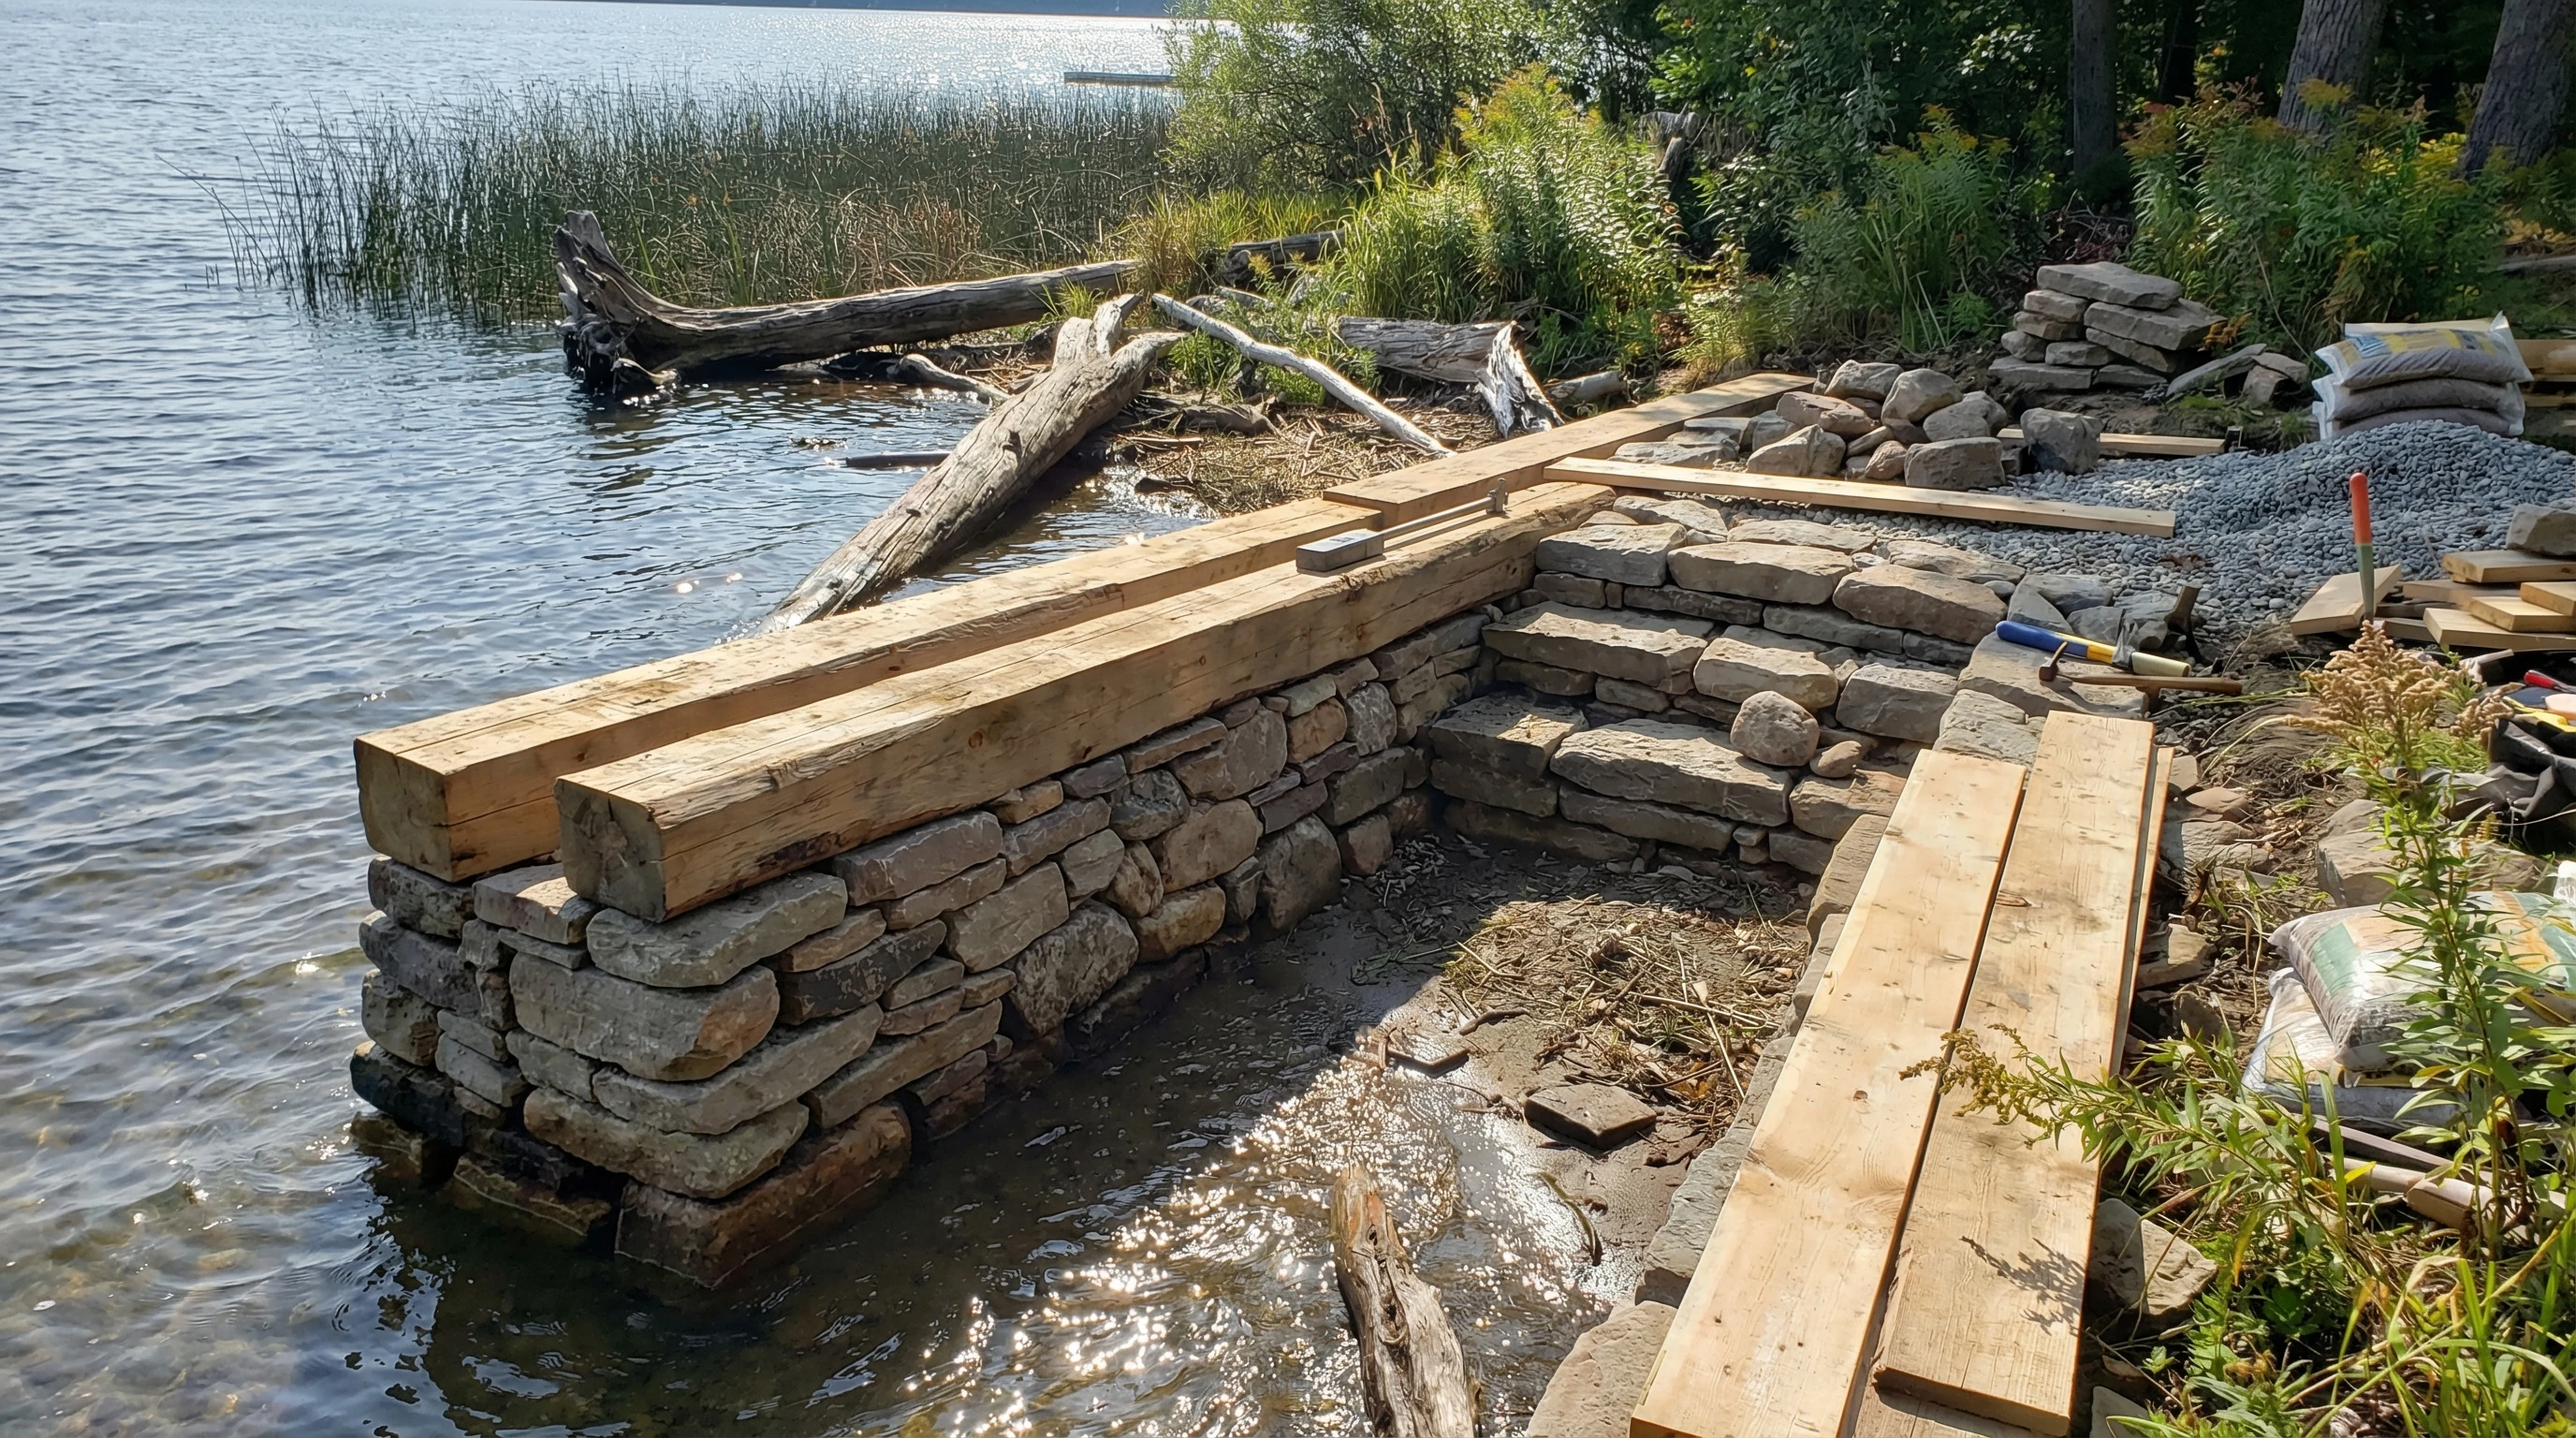
Seawalls are structures built to hold back water and stop land from washing away at the shore. Most DIY seawalls use materials like treated wood, interlocking vinyl sheets, concrete blocks, or large rocks known as riprap. Each material reacts differently to water, soil, and pressure. Even if you’re handy with tools, making sure the wall is sturdy and built at the right height matters a lot. Skipping steps or using wrong materials could cause problems down the road.
It’s helpful to remember that local rules might require permits, especially if the seawall changes the shoreline. Checking in with your local government or permitting office can prevent headaches and possible fines down the road.
Common Troubles During DIY Seawall Projects
Several common problems may pop up as you build or repair your own seawall. Here are some of the issues I’ve run into, along with what usually causes them:
- Soil Erosion: Gaps forming behind or around the wall, making the ground sink or wash out.
- Water Seepage: Water leaking through or under the wall, causing puddles or soft ground.
- Wall Leaning or Bowing: Sections of the seawall tilt toward the water or bulge outward.
- Material Degradation: Wood rots, steel rusts, or concrete cracks due to constant water exposure.
- Poor Anchoring: Wall anchors pull loose, making the wall unstable or unsafe.
Diagnosing Issues with Soil Erosion
Soil erosion is something I see a lot, especially with DIY projects near lakes and rivers. If the soil behind the seawall looks like it’s sinking, or you spot holes or washouts, water may be leaking through seams or running over the top.
- Make sure drainage pipes (weep holes) are clear and working. Blocked drains let water build up behind the wall, pushing soil out through weak spots.
- Check that backfill behind the wall is properly compacted using gravel or crushed stone. Loose or sandy fill washes out more easily.
- If you spot gaps where soil is escaping, refill these areas and patch seams using landscape fabric or clay to provide better barriers.
Preventing Water Seepage and Puddling
Water leaking through the seawall can lead to puddles behind the wall or in your yard. This usually happens because of poor seals, missing filter fabric, or high water pressure during storms and floods.
- Inspect for cracks or gaps between seawall panels, then seal them with marinegrade caulking or add filter fabric on the waterward side.
- Install or clear weep holes so trapped water drains out slowly instead of pushing through or under the wall.
- Use riprap at the base of the wall to break up wave energy and keep water from digging out new paths.
Fixing a Leaning or Bowing Seawall
When I notice a wall tilting forward or bowing in sections, I usually find that anchors are loose, or that the pressure from the soil and water is just too strong. Sometimes the wall wasn’t built deep enough, letting water flow beneath it and push the wall out of place.
- Check and tighten or replace any wall anchors or tiebacks that have become loose.
- Reinforce the wall from the landward side by adding extra soil and a new row of anchors if needed.
- Excavate and check the seawall footing. Extending the wall deeper into the ground can add stability, especially in softer soils.
Handling Material Wear and Degradation
The quality of your materials impacts how long a seawall lasts. I often see issues with rotting timber, rust on steel posts, and cracks in concrete from repeated exposure to water.
- Choose treated or engineered materials made for marine use. For example, treated wood, composite panels, or marinegrade steel hold up better than untreated options.
- Regularly inspect for soft spots, discoloration, or rust. Spot-treat wood with sealant or change out damaged boards. For metal, sand off rust and repaint with a protective coating.
- Handle small cracks in concrete early by patching with cement-based repair compounds. Staying on top of this prevents bigger problems later.
Making Sure Seawall Anchoring Is Reliable
Anchors hold the wall to stable ground. If you notice the wall wobbling, moving inward or outward, or if pieces are separating, the anchors might not be deep enough or spaced properly.
- Use galvanized or stainlesssteel rods or deadmen anchors, depending on your soil and wall design.
- Install anchors at regular intervals as recommended for your chosen wall material. Most manufacturers offer guidance on spacing and angle.
- Test the anchor tension once installed. If you can move anchors or posts by hand, they need to be set deeper or reinforced.
Tips to Avoid Trouble Before You Build
Careful planning goes a long way in preventing these issues. Here are my best tips for anyone taking on a DIY seawall:
- Start with a soil test. Certain soils need deeper or wider walls for proper support.
- Draw up a detailed seawall plan, including wall height, anchor spacing, and drainage points.
- Always use filter fabric behind the wall to slow soil loss. This is especially needed for sandy soils.
- Build the bottom of your wall below the average low water line. This keeps water from sneaking underneath.
Extra Advice for Difficult Conditions
If your property faces tides, heavy boat traffic, or frequent storms, it’s wise to doublecheck everything. Strong waves and water movement put more stress on the wall, making reinforcements helpful.
- Add extra rows of anchors for longer walls or tall sections above three feet.
- Install a second row of riprap in front of the wall if you expect strong wave action.
- Keep an eye on your work after big weather events and fix problems right away before they get worse.
Pro Tips for Ongoing Maintenance and Upkeep
Beyond initial construction, checking over your seawall a few times a year can really make a difference. For instance:
- Watch for new cracks, bulges, or soil movements after heavy rains or floods.
- Pull any weeds or plants growing close to or in gaps in your seawall—roots can pry materials apart over time.
- Make quick repairs to minor leaks or gaps to keep water and soil where they belong.
A consistent maintenance schedule may also include hosing off salt build-up if you live in a coastal area, tightening anchors, and adding fresh rock as needed. Little fixes now prevent bigger headaches later, giving you peace of mind every storm season.
Frequently Asked Questions About DIY Seawall Projects
Here are a couple of common questions I get when helping friends or neighbors troubleshoot their DIY seawall builds:
Q: What causes seawalls to fail soon after installation?
A: Early failure usually comes from poor drainage, shallow wall depth, or weak anchors. Check these areas first if your wall isn’t holding up.
Q: Is it possible to repair just a single section of my seawall?
A: Yes, patching or bracing problem sections can help. Make sure you find and fix the root cause, such as loose soil or broken anchors, so trouble doesn’t pop up elsewhere.
Q: Can I build a seawall without any permits?
A: Most places require a permit for seawalls. Even on private land, you’ll want to check local rules since building without permits can lead to fines or removal orders.
DIY Seawall Success Starts With Smart Troubleshooting
DIY seawalls are doable, but problems can show up even when you follow instructions closely. Careful planning and quick action when issues appear will help your seawall last longer and work better. If you ever feel stuck, talking to a local contractor or marine engineer for a quick consult can be really valuable. With a solid plan and attention to detail, it’s much simpler to enjoy your waterfront without constantly worrying about the next big storm or erosion problem.