
If you live by the water or own lakefront or riverfront property, building a seawall can be a pretty handy move to protect your land from erosion. While hiring a contractor is one option, a lot of folks like taking on this kind of project themselves. As long as you’re comfortable with basic DIY skills and have access to the right equipment, you can set up a sturdy seawall that adds both value and durability to your property. Here’s a step-by-step guide based on what I’ve learned actually taking on this project.
Why Build a Seawall?
Shorelines experience all kinds of wear and tear, from waves and boat traffic to ice and changing water levels. A seawall gives you a physical barrier that holds back soil and protects against erosion. It can be stone, wood, vinyl, concrete, or steel. Most people use one to stop their backyard from washing away, make their shore safer for swimming, or even to create level land and improve their view.
According to the U.S. Army Corps of Engineers, waterfront erosion can take out several feet of land every year if left unchecked. Even if erosion seems slow at first, once it starts, it’s tough to reverse. Building a seawall isn’t just about looks; it’s about actually protecting your property from long-term headaches. By preventing land loss, seawalls can also give a boost to your property’s value and enjoyment.
Materials and Tools You’ll Need
The material you choose depends on your shoreline type (gentle or steep), budget, and personal taste. Nearly everyone uses one of these:
- Timber/Wood: Popular for looks and DIY-ability; good for lakes and slow-moving rivers but needs upkeep.
- Concrete or Precast Block: Lasts a long time, handles heavy surf, but takes more planning and muscle.
- Vinyl or Composite Panels: Rust and rot resistant, super durable, often chosen for low-maintenance installs.
- Natural Stone or Riprap: Rocks and boulders blend in nicely and are great for breaking up waves on their own.
For most DIY seawall projects, you’ll also want these tools:
- Shovels, posthole digger, and wheelbarrow
- Sledgehammer or mallet
- Level and measuring tape
- Tamping tool
- Drill and circular saw (for wood/vinyl installs)
- Gloves, boots, safety glasses
You’ll also need steel or composite tiebacks (deadman anchors) if you want your wall to stay put over time and continue doing its job.
Planning Your Seawall Project
Jumping straight to building is tempting, but you’ll save yourself a lot of hassle by planning. Start by figuring out how long and tall the wall should be. Most residential seawalls are two to four feet high. Measure your shoreline carefully and snap a chalk line where you want the wall’s front edge to go.
Check with your local authorities about permits. You almost always need permission for waterfront construction, and there might be special rules about how far back the wall should be or what kind of materials are allowed. Getting this squared away is really important, especially if you ever plan to sell your property or want to avoid costly legal trouble.
Take some photos and sketches of your site. If you’re not sure what works best, show these to your permit officer or local conservation folks. They’ve likely seen what holds up in your area, and you might stumble upon useful advice from people with hands-on experience.
Digging and Preparing the Site
Clear the area along the planned seawall line of debris and plants. Use shovels to dig a trench that’s at least half as deep as your wall’s finished height. For example, if your wall is three feet tall, dig a trench about 18 inches deep. Make it about a foot wider than your wall for easier work and a stable base.
A level trench is key. Check with a builder’s level or place a level on a long board. Packing the bottom with several inches of gravel gives your seawall a sturdy foundation and helps with drainage, which keeps the wall from sinking in future years. This step is essential for a longlasting seawall.
Building the Seawall: Step by Step
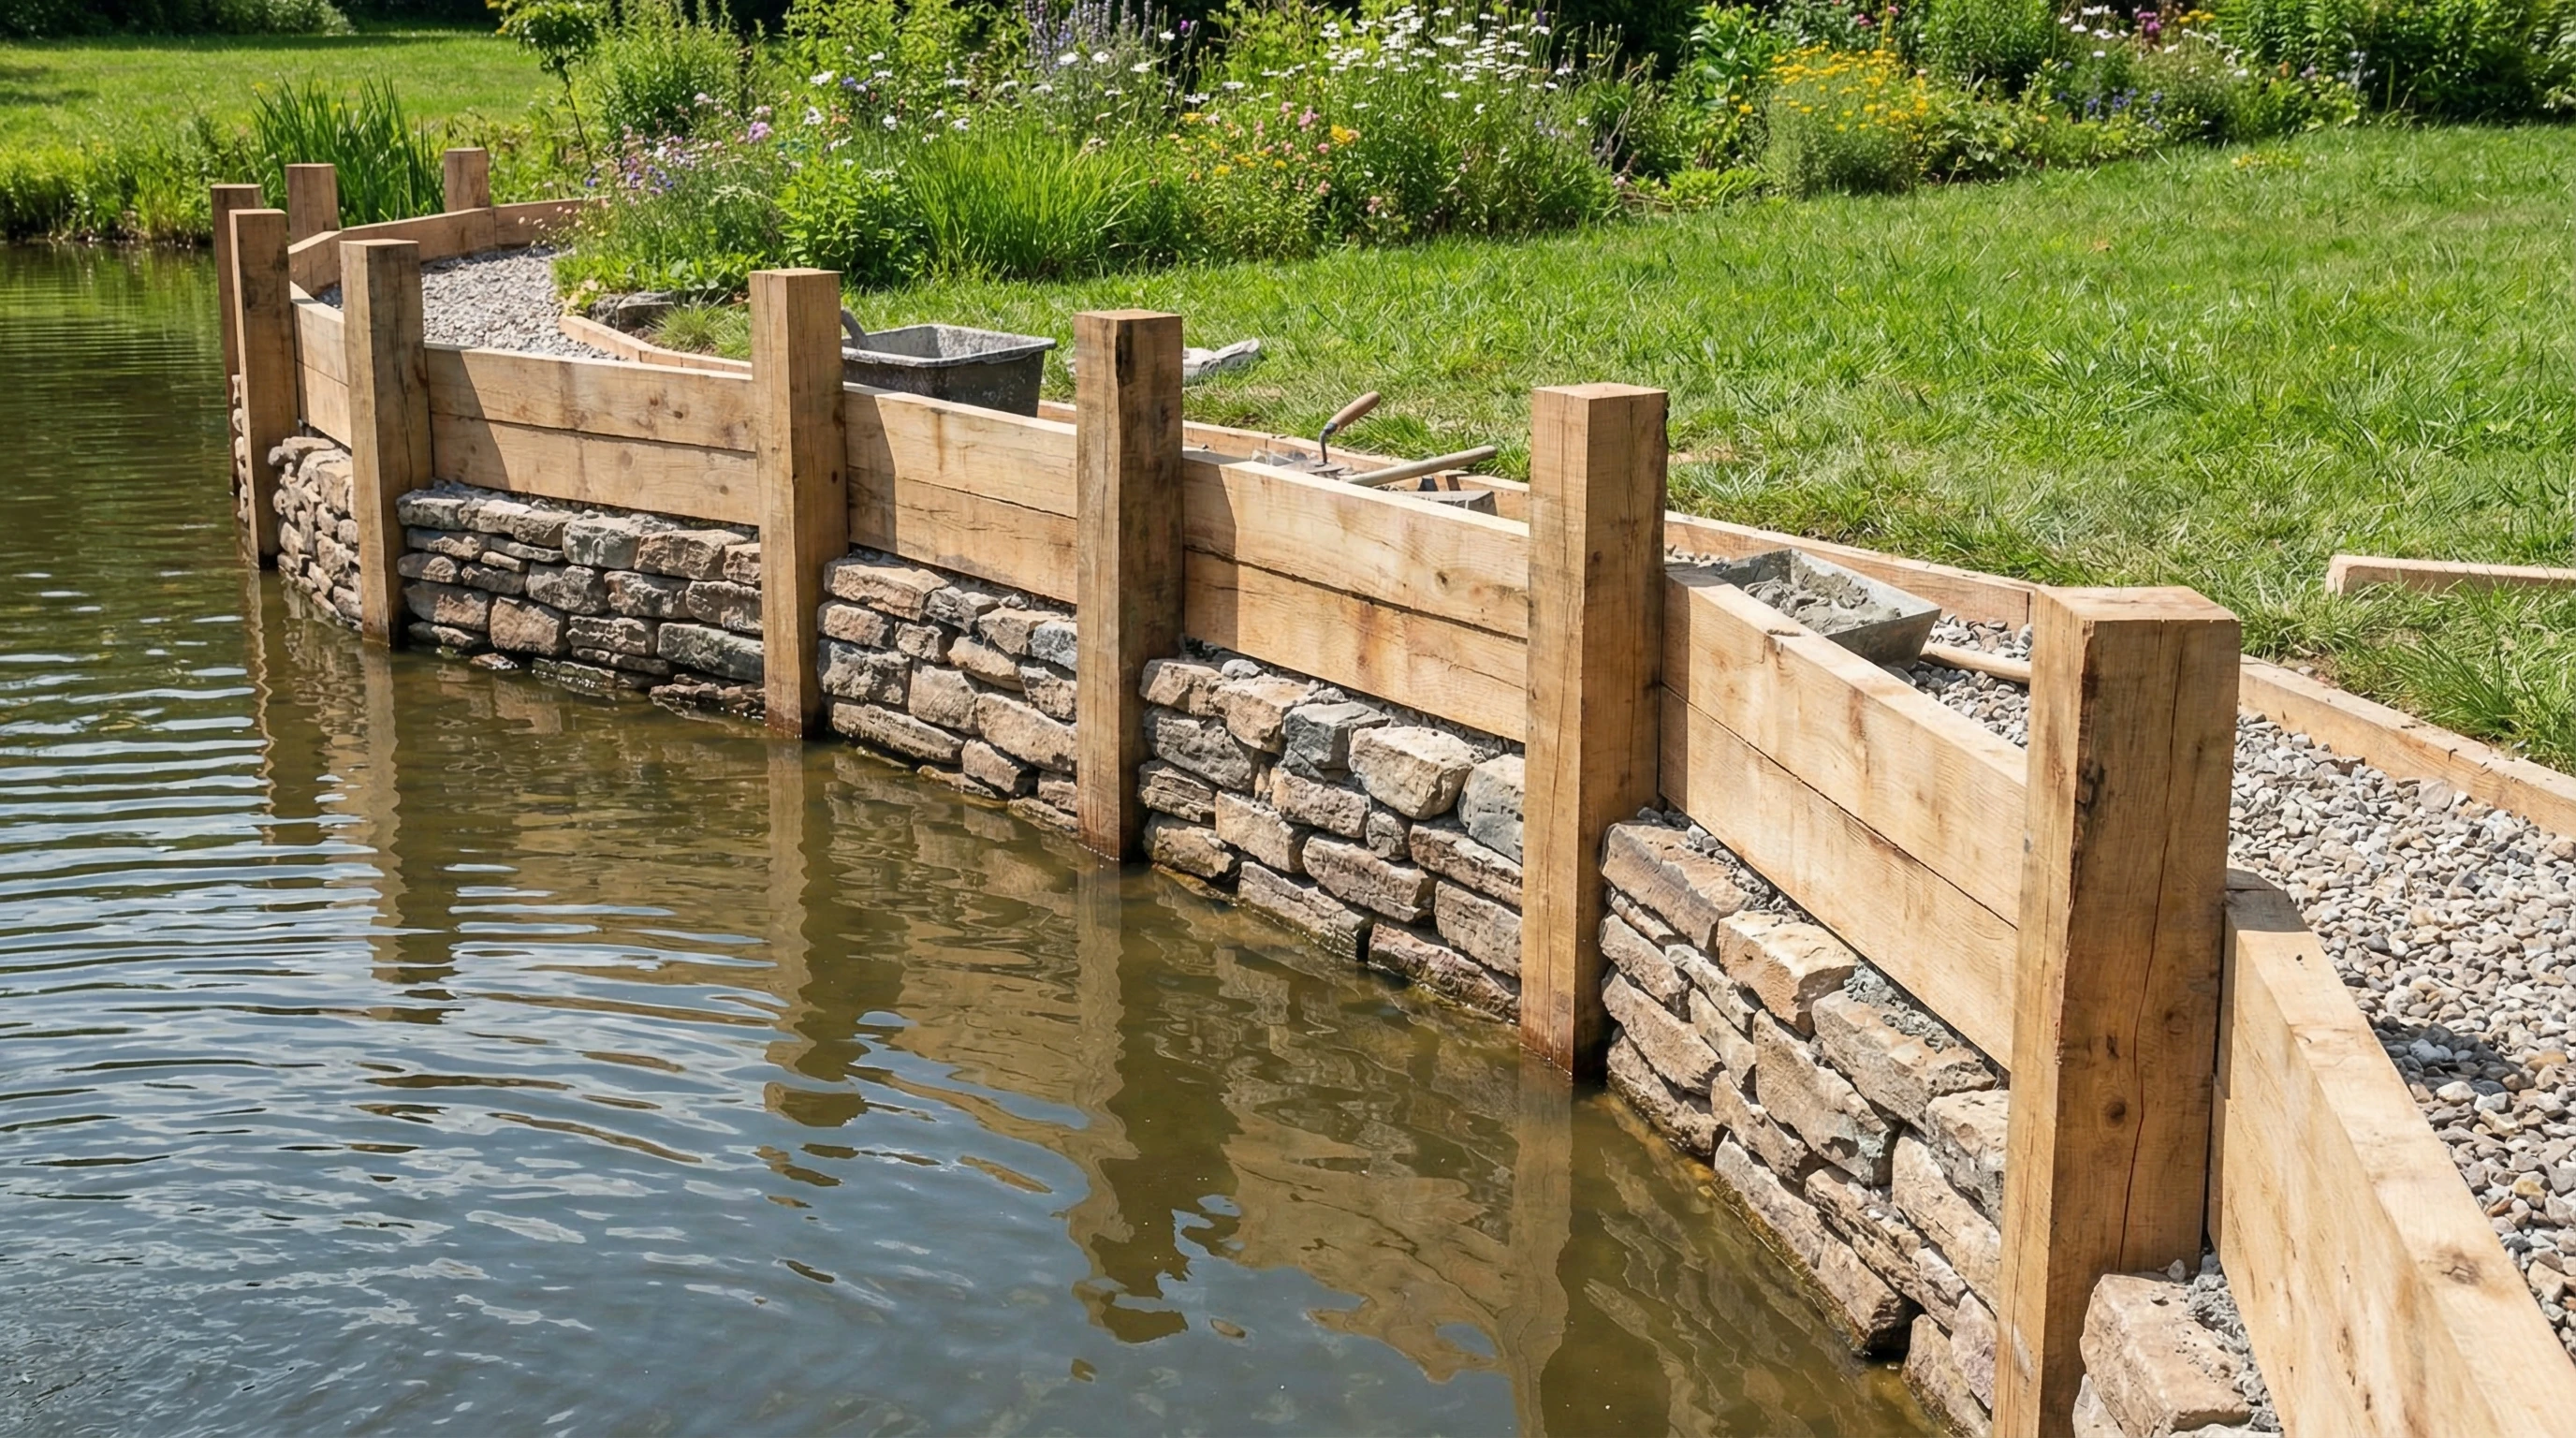
- Lay the Foundation: Add gravel to the trench bottom, tamp it down, and lay out your first course of material (blocks, timbers, or panels) snug against each other. For wood, make sure the base layer is pressure treated for durability and to stop any early rot.
- Drive in the Supports: Use posts or rebar hammered into the trench behind your wall every 4 to 6 feet. If you’re using wood or vinyl panels, these posts are key for strength. For a stone wall, tamp the largest stones into the base.
- Stack and Secure: Continue stacking your material up to your desired height. Overlap or offset seams if you’re using wood timbers or blocks and secure every row with galvanized screws (wood) or pins (block systems). Vinyl panels usually get locked together and fastened to uprights.
- Add Anchors or Tiebacks: To keep the wall from tipping, run tieback rods or lengths of rebar back from the wall and connect to buried deadmen (big blocks of wood or concrete set 4 to 6 feet behind the wall and covered with compacted dirt). Space these anchors at least every 8 feet, following manufacturer specs when possible.
- Filter Fabric and Backfill: Place landscaping fabric or a drainage layer (like filter cloth) behind the wall before backfilling with gravel or sand. This keeps soil from pushing through gaps and helps with drainage, extending your wall’s life.
- Top Off and Finish: Once the backfill is in, grade the land up to the top of your wall so water doesn’t pool behind it. If you like, add stone or mulch for a finished touch and easier maintenance.
Common Problems and How to Avoid Them
Building a seawall can run into a few hang-ups. Here are a couple of issues I’ve run into or heard about from other DIYers:
- Wall Sliding or Leaning: Usually a sign of poor anchoring or not enough backfill drainage. Tiebacks and filter fabric are worth the extra effort for long term strength.
- Rot or Rust: Wood and metal need to be treated properly (pressure treated or galvanized) and checked once a season, especially after storms.
- Permitting or Compliance: Unpermitted walls get flagged if neighbors complain or if you ever want to sell. It’s smart to check in with the authorities rather than risk tearing out your hard work.
Checking in with local experts or neighbors who’ve built seawalls never hurts. Local knowledge about soil, ice conditions, or wave action can sometimes make all the difference. If you take the time to chat with others, you may track down a simple fix that saves you a ton of work later.
Tips for a Longer Lasting Seawall
Adding a drainage pipe (weep hole) every 5 to 10 feet lets water escape instead of building up behind your wall, which is the main way seawalls start to fail. Keeping bushes and large trees away from the base also protects from root damage. Every spring, walk your wall and check for signs of bulging or cracks. Small repairs are way easier than rebuilding later on.
- Inspect after stormy weather and fix anything that looks off right away.
- Keep backfill topped off and sloped gently toward the wall for proper runoff.
- Sweep or rinse off debris so plants don’t grow into cracks or seams.
Applying a light coat of water resistant sealant on wood or composite materials once a year can help extend their life and keep them looking next level cool.
Practical Uses and Success Stories
I’ve seen seawalls bring back a backyard that was basically a mud pit after every heavy rain. On another project, switching from a timber wall to a stone riprap look blended nicely into the property and created a habitat for ducks and turtles. Lake homes, river cabins, and even urban properties sometimes use vinyl or composite for a clean modern appearance. The key is matching the style to your needs and your budget.
- Lakefront Retreats: Wood or concrete stops erosion and keeps beaches walkable for summer fun.
- Urban Canals: Vinyl or steel give a clean edge with minimal upkeep and can really make the shoreline pop.
- Nature Buffs: Riprap stone looks great and also helps small critters and fish thrive along your waterfront.
No matter which option you pick, a carefully planned and built seawall gives your property benefits for decades, protecting your shoreline and making the space more enjoyable for friends and family alike.
Frequently Asked Questions
How long does it take to build a seawall?
Small personal waterfronts (25 to 50 feet) can often be finished in a long weekend if you have help, while bigger jobs might take a week or two, especially if you’re working alone.
Can I build a seawall myself, or should I hire a pro?
If you enjoy digging, lifting, and basic carpentry or masonry, it’s possible to do this yourself. Tricky sites with deep water or heavy waves probably need a contractor with experience and more substantial equipment.
What’s the best time of year to build a seawall?
Late spring or early summer works well. The ground isn’t frozen, and low water lets you see and work on the bank easier without waves lapping around your boots.
Do seawalls need a permit?
Almost everywhere, yes. Local building offices or conservation agencies usually want you to check in and get approval before digging or disrupting the shoreline.
If You’re Ready to Tackle Your Own Seawall
Building a DIY seawall takes time, planning, and a little sweat, but the payoff is pretty immediate. You get peace of mind, a spot to enjoy the water, and a shoreline that stands up to whatever nature throws at it. Stick to these steps, review your local rules, and don’t be afraid to ask questions of neighbors or officials along the way. Your slice of waterfront will thank you for years to come.