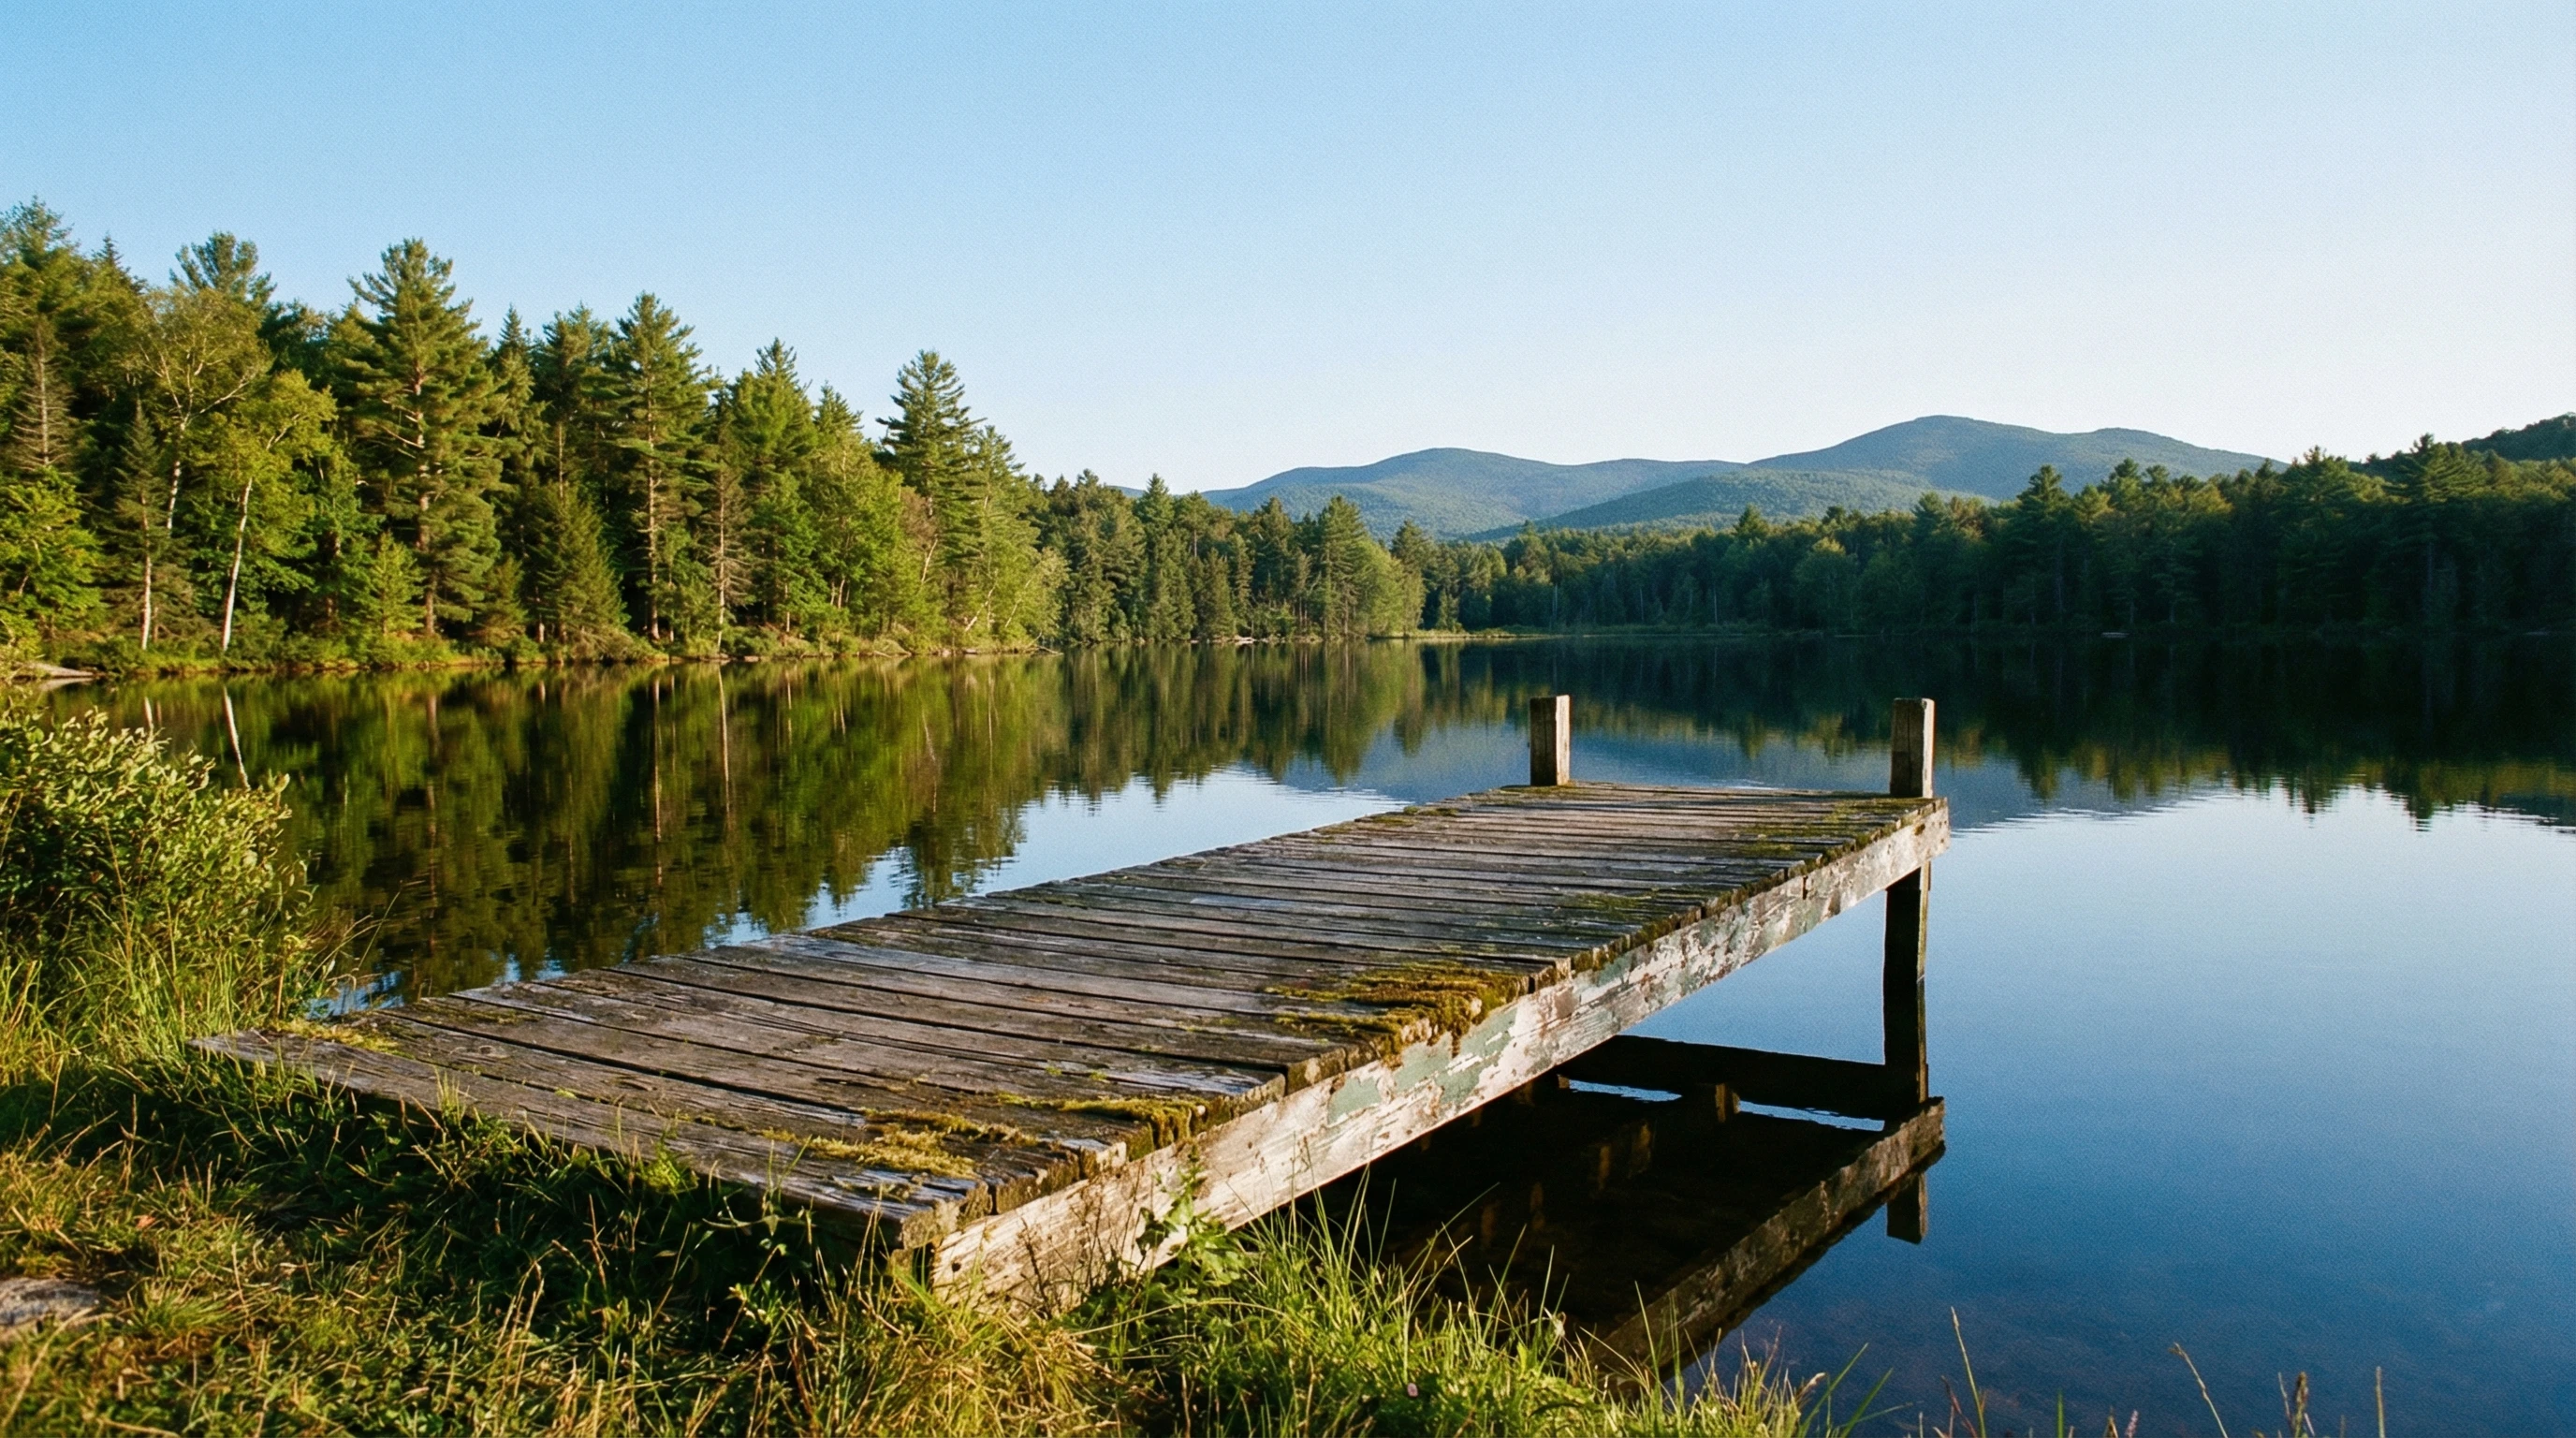
Building a small dock is a project you can take on to get more use from your backyard pond or lakeshore getaway. Whether you want a spot to launch a canoe, tie up a small boat, or just relax with your feet dangling over the water, creating your own dock is a rewarding adventure. If you enjoy DIY projects and being close to the water, this guide will show you everything you need to get started while steering clear of common rookie mistakes.
Why Build Your Own Small Dock?
A small dock gives you loads of freedom and practical perks for lakeside fun. Buying a prebuilt dock or having one professionally installed can rack up a big bill but doing it yourself keeps expenses easier to handle and lets you pick everything from the layout to the materials. Some people want a simple floating platform, while others dream of a solid, stationary dock that’s like an outdoor living room in the summer. The great news: even as a beginner, a basic dock project is more doable than you might think once you break it down into basic steps.
The DIY dock scene is popping these days as homeowners look for affordable ways to step up their outdoor spaces and enjoy the waterside. Plus, you get serious satisfaction every time you walk out on your finished handiwork.
What You Need to Know Before Getting Started
Before buying lumber or hauling supplies to the shoreline, look into a few key details so you don’t hit big snags later. For a smooth build, keep these in mind:
- Local Regulations: Most spots have rules about dock construction. Some places want you to get permits, while others need you to follow environmental guidelines that protect fish and shorelines.
- Water Depth and Bottom Type: Is the water shallow, muddy, deep, or rocky? Knowing this helps you decide how to anchor your dock so it stays put.
- Seasonal Changes: Think about how water levels switch up with the seasons. Some lakes drop a lot in midsummer, while others rise in the spring. Make sure your dock is usable all season long.
- Budget and Materials: Pressure treated wood, composite planks, or aluminum frames all have pros, cons, and different price tags.
Getting sorted here helps you skip lots of guesswork and plan a dock built to last.
Dock Types Beginners Should Check Out
Docks aren’t a one-sizefitsall deal. Picking a dock style that fits your needs and shoreline saves time and effort. Here are three main types for beginners:
- Floating Dock: Rides on the water’s surface and moves as levels change. Great for deep or soft-bottomed ponds, and easier for DIY work.
- Stationary Dock: Held up by posts sunk into the pond or lake bed, these feel sturdy underfoot—perfect for shallow or firm-bottomed waters.
- Rolling Dock: Set on wheels, these can be pushed in or pulled out with the seasons—super handy in places with icy winters or if you want to take the dock in and out.
Most firsttimers stick with floating or stationary docks for simplicity and a friendlier price. You’ll also find modular dock kits at hardware stores that take some of the worry out of starting from scratch.
StepbyStep: Building Your Own Small Dock
Once you’ve picked your dock type, you can jump in with your build. Here’s how to make a beginner floating dock, one step at a time:
- Design and Sketch: Measure your waterfront. Decide on dock size—a 6×8 or 8×10 foot dock works for most folks.
- Gather Tools and Materials: You’ll need pressure treated lumber (for frame and top boards), galvanized screws or bolts, barrels or foam for flotation, a saw, drill, tape measure, level, and basic hardware.
- Build the Frame: Put together your rectangular frame on flat ground. Double-check it’s square and use corner brackets for strength.
- Attach the Floats: Bolt barrels or floats under the frame, spacing them evenly so the dock sits level in the water.
- Install Deck Boards: Lay your decking perpendicular across the frame. Leave small gaps for drainage and use galvanized screws to dodge rust.
- Move the Dock to the Water: Gather some friends, carry the dock to the water, and float it into place. Tie it to the shore or drop anchors to lock it in.
Some folks add railings, steps, or a bump out for fishing, but these steps give you a great starting point. For a stationary dock, swap floats for posts driven into the pond bed.
Things to Watch While Building
Even if you love weekend projects, keeping a close eye on these points will help:
- Frame Strength: A weak frame won’t last. Double up beams and use braces for extra support; bolts or lag screws are best for key connections.
- Float Placement: Place floats near the edges and in the middle so your dock doesn’t tip.
- Spacing of Decking: Leaving about a quarter inch between planks keeps water from pooling and helps the wood dry out after rain.
- Dock Anchoring: If your dock isn’t tied down well enough, wind or currents can move it. Tie it to trees, stakes, or use dock anchors.
When I tackled my first build, I also ran some sandpaper over sharp corners—no one wants splinters during summer fun!
Advanced Tips & Easy Upgrades
After you’ve enjoyed your dock for a bit, you might want to give it a boost by adding a few of these popular features:
- Power Outlets: Solar lights or waterproof outlets can run a radio or charge your phone.
- Canoe/Kayak Holders: Simple homemade racks keep gear off the deck and dry.
- Ladders: A flipup ladder makes climbing in after a swim quick and safe.
- Protective Bumpers: Rubber bumpers save boats from dings and protect your dock from getting beat up.
Consider sealing or staining your wood for extra protection, especially if you get lots of rain or harsh sun. That step adds longevity and helps the dock keep looking good.
Key Equipment and Materials for First Timers
Your material choices really set the tone for how your dock holds up. Here are the basics to keep in mind:
- Pressure Treated Lumber: It’s affordable and resists rot and bugs better than standard wood. Composite decking costs more up front but slashes your longterm maintenance.
- Plastic Barrels or Foam Floats: Food grade barrels are a good, budget friendly float option for small docks.
- Galvanized or Stainless Fasteners: Go with stainless or galvanized screws and bolts—they last in wet conditions and don’t rust.
Keep things simple and reliable. Most big box stores carry dock lumber, and plenty of YouTube tutorials can break down the builds, acting as a backup if you get stuck.
Frequently Asked Questions
Got more questions? Here are some common ones for new dock builders:
Question: How much does it cost to build a small dock?
Answer: A basic DIY floating dock can run between $400 and $1,200, depending on the size and prices in your area. Doing the work yourself and looking for deals on barrels helps keep it affordable.
Question: How long does it take to build a beginner dock?
Answer: With your materials and tools set, most small docks can be finished over a weekend—maybe a little longer if you add features like handrails or a ladder.
Question: Do I need to remove the dock in the winter?
Answer: Where lakes freeze completely, it helps to at least untie floating docks or pull them out so ice doesn’t crush them. Sturdy stationary docks made from heavy timbers can stay put, but lighter ones last longer if taken in before freezing hits.
Wrapping Up
Building your own small dock makes your outdoor experience better without costing a fortune or demanding pro carpentry skills. Aim for a solid design, weatherwise material choices, and pay attention to safety. That way, you’ll end up with a dock you enjoy for years to come. All you need is a basic toolkit, some elbow grease, and a weekend—before you know it, you’ll be out over the water, soaking up the good times with family and friends!