Planning a seawall project can help protect your property from erosion and flooding, especially if you live near a shoreline. There’s a lot to think about, and each step changes how strong and reliable your seawall will be. Over the years, I’ve learned that a good seawall doesn’t just appear overnight. Careful planning, budgeting, and working with professionals makes a big difference. Here’s my step-by-step guide to help you plan your seawall project, keep costs in check, and avoid any headaches down the road.
Understanding Why You Need a Seawall
Knowing the purpose of your seawall is important. Some seawalls are designed to prevent land erosion, while others act as barriers against flooding or help stabilize slopes near the water. Before jumping into any design, I spend time assessing what I need from the seawall. Is my main worry gradual erosion or storm surges? Am I trying to create a safe dock area or stop tidal damage? Figuring out the real reason for your seawall helps you pick the right materials and design, which can save time and money later.
In coastal communities, seawalls serve as the last line of defense between the land and the water. If you notice signs of erosion such as receding soil, leaning trees, or standing water after high tides, a seawall is probably worth considering. Talking to neighbors or checking out nearby properties can also help you see what’s working and what’s not in your area. Seeing similar projects nearby might give you ideas on what materials last longest or which styles look best. When you dig into local examples, you not only understand your options better but also get valuable insights on hurdles and effective solutions used by others.
Assessing Your Property and Waterfront
Getting to know your property’s waterfront conditions can really help with seawall planning. Soil type, water depth, and wave activity all affect which type of seawall works best. When I planned my first project, I walked the site during both high and low tides and took note of problem areas, like spots where the soil was already eroding or water was pooling up after big rainstorms.
Professional help is a good idea at this stage. Many coastal engineers or seawall contractors will offer an assessment. They look at your shoreline, check soil stability, and measure the slope and depth. Their recommendations are based on first-hand experience and can save you from costly mistakes, such as choosing a style that won’t hold up in your location.
Don’t forget to take detailed pictures and notes. Having that information on hand can help you track down issues later if anything changes. Photos over time can also show if erosion is accelerating, or if sediment builds up in certain locations after storms. It’s helpful for discussions with both professionals and permitting agencies.
Budgeting for Your Seawall Project
Your budget will likely influence every major decision, from the materials you pick to the size and style of seawall you can build. I always start with a rough estimate, knowing that a vinyl panel wall costs differently compared to a concrete or natural stone wall. Budgeting for a seawall includes not just materials, but also labor, any design or engineering fees, and permit costs.
If you’re working with a contractor, get detailed written quotes and ask for breakdowns, so you know exactly where your money will go. Don’t forget to allow a little cushion for unexpected expenses. Hitting rock, finding unstable soil, or running into old debris in the ground happen more often than you might expect along shorelines.
It’s also smart to ask for references from your contractor and see other nearby jobs they’ve done. Viewing past projects helps you make sure the quality matches your expectations. Sometimes, grouping your project with neighbors may offer cost savings if construction crews can stay in the area longer.
Getting the Right Permits and Following Regulations
Permits are usually a must for building a seawall. Local, state, and even federal agencies may have rules about what you can build, how high it can be, or how close it can be to the water. Ignoring permits or skipping approvals can lead to fines or having to remove the wall entirely. When I applied for my permits, the process involved submitting a site plan, engineering drawings, and sometimes an environmental assessment.
Check with your city or county government about what paperwork is needed. Some areas also have environmental or marine protection boards that oversee waterfront construction. Starting early with this research keeps things moving and can highlight problems you might not have seen yet, such as protected wetlands or restricted areas.
If you live near sensitive wildlife habitats or protected zones, expect extra scrutiny and possibly input from environmental specialists. Showing a willingness to follow rules can win you points with regulators and help fast-track your approvals.
Designing Your Seawall: Materials and Types
Seawalls come in many styles and materials, and your design choices depend on your site conditions, the look you want, and your long-term goals. Here are a few options you might want to consider:
- Vinyl or Composite Panel Seawalls: These are popular for their low maintenance and lifespan of over 30 years. I like them for lakefronts and calm bays.
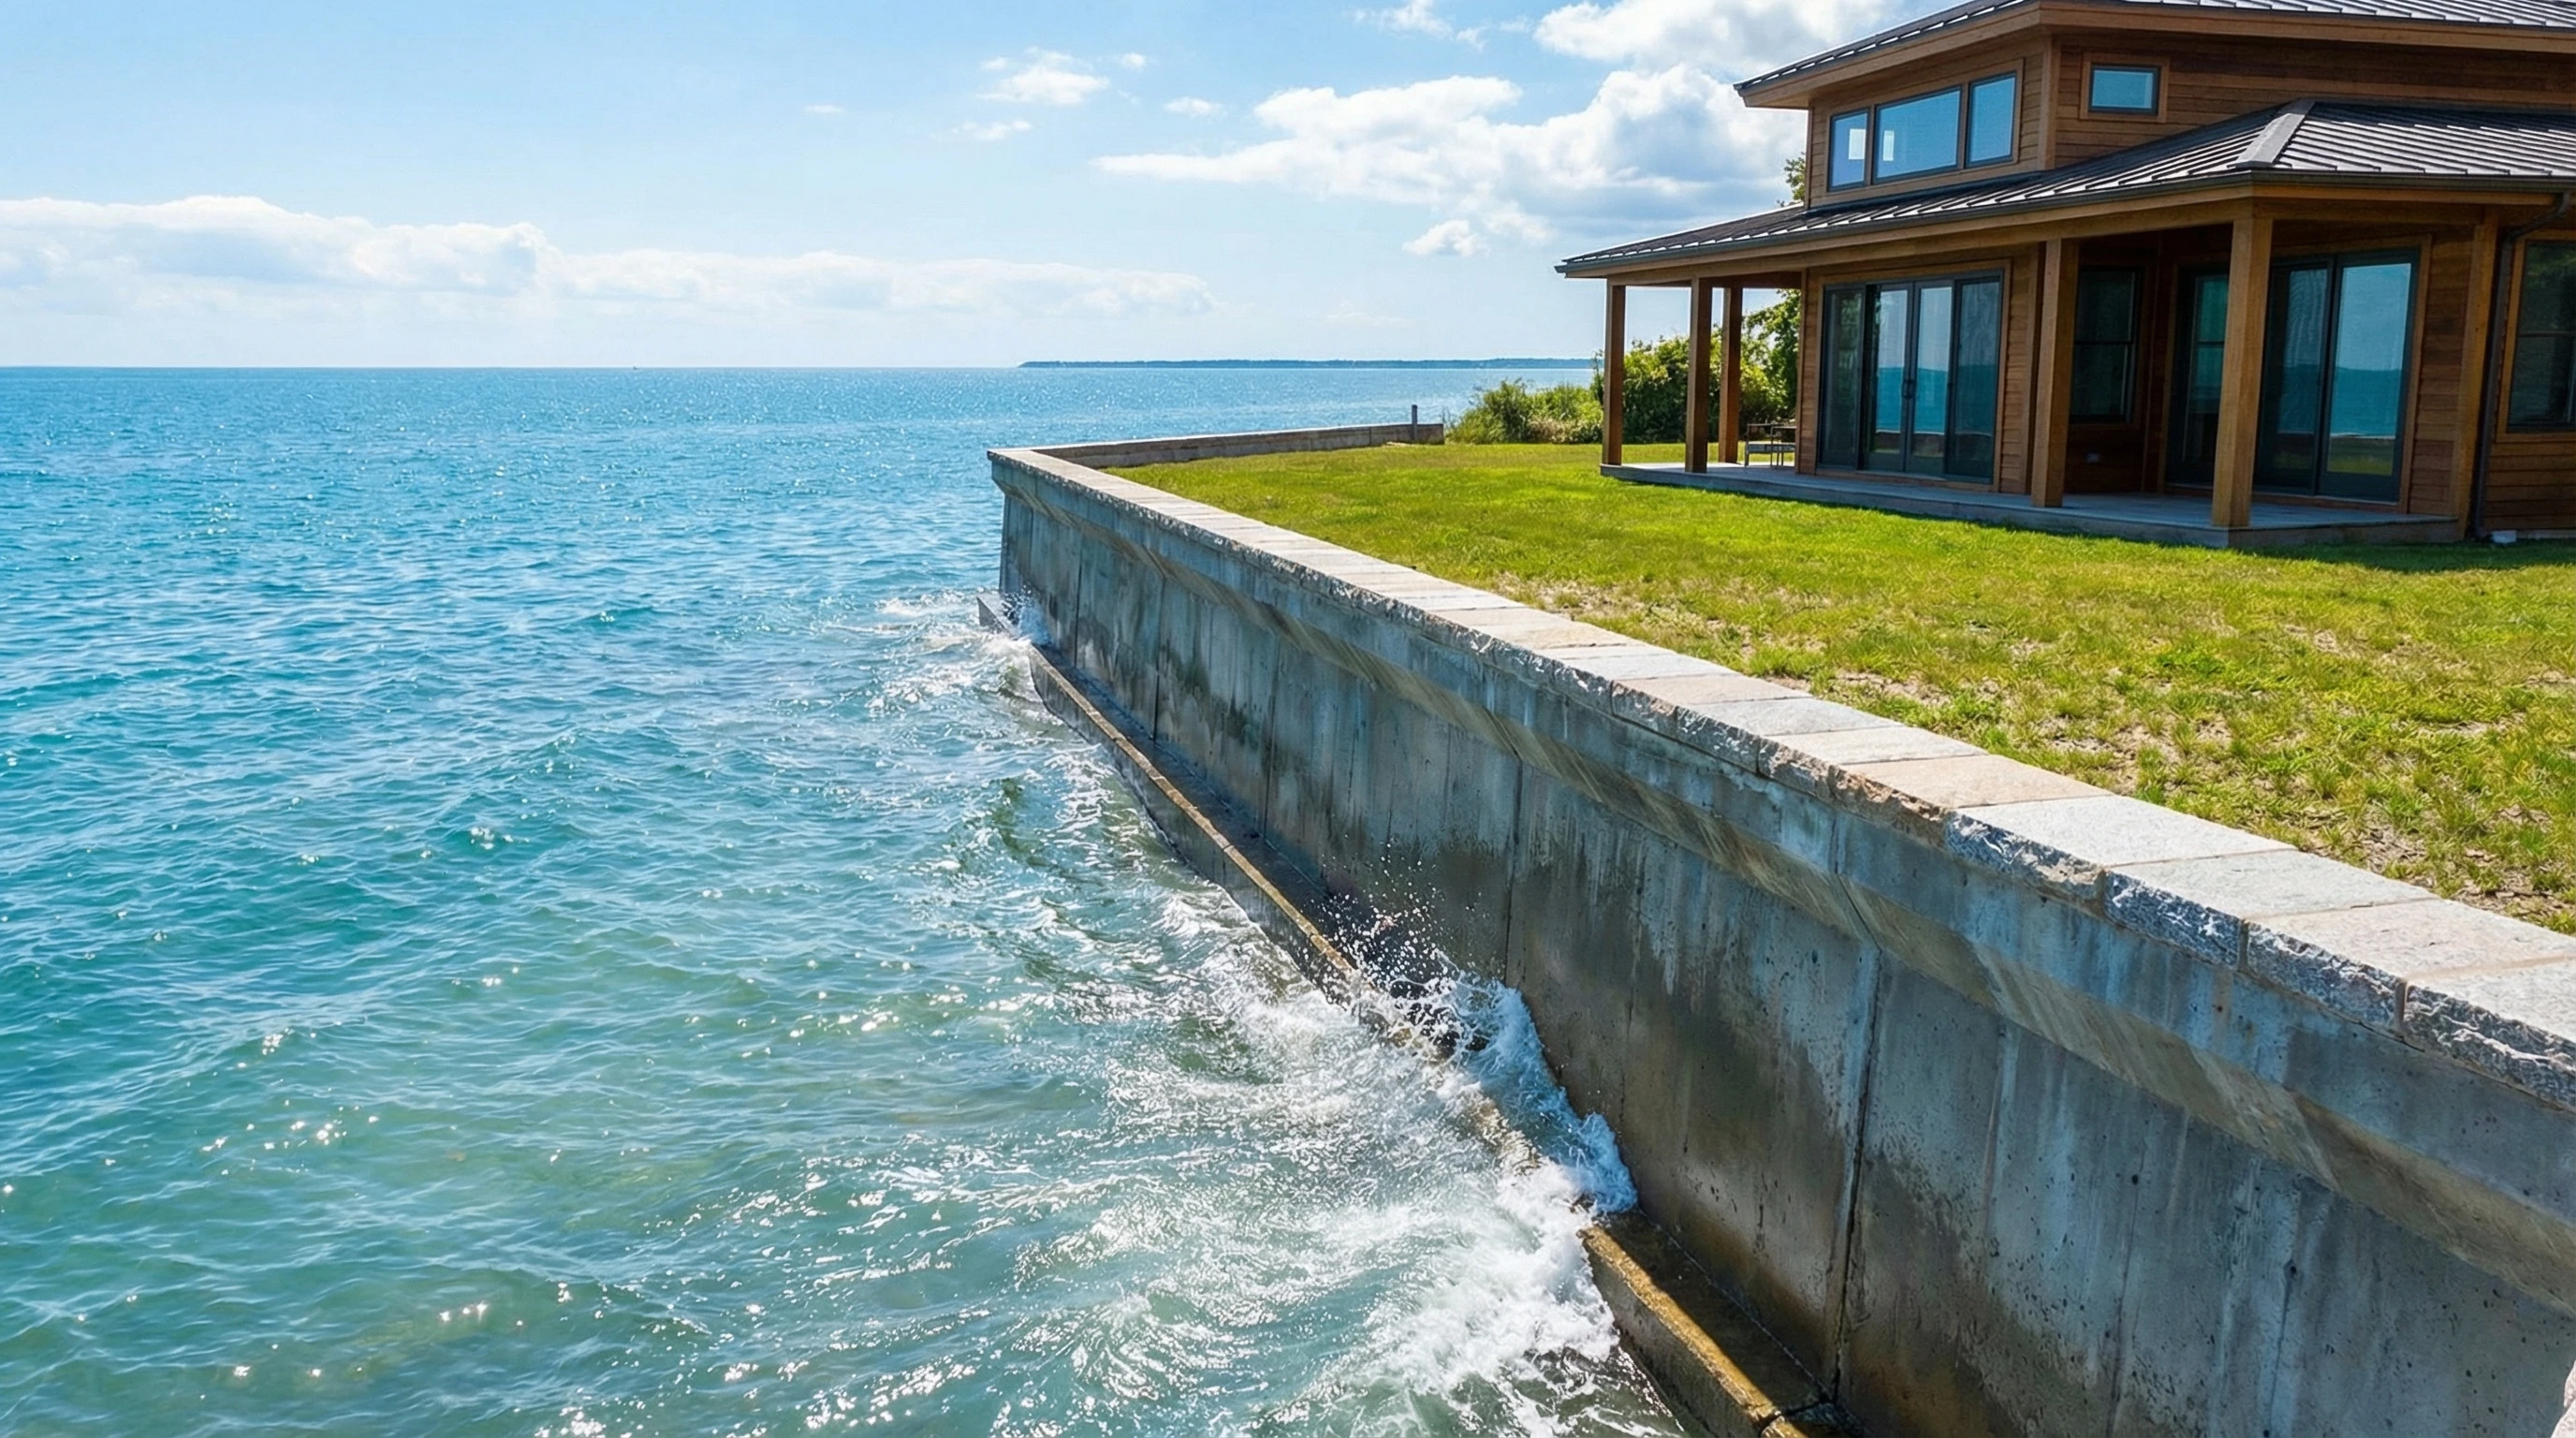
- Concrete Seawalls: These are tough and good for rougher waters, but they tend to cost more.
- Natural Stone or Riprap: These use large rocks to break up wave energy. They can look great but need the right slope and careful placement for stability.
- Steel Seawalls: Common for commercial or industrial projects. They’re strong but can rust in marine environments without proper coatings.
When I work with a designer or engineer, I ask about how each choice holds up in local conditions. They’ll talk through things like installation time, expected life, appearance, and how well the wall will handle big storms. In some cases, you can mix styles, using a concrete base with a stone or planted top. Picking customized solutions often delivers the most reliability and the look you want.
More recently, ecofriendly seawalls and living shorelines have gained popularity. Adding vegetation or special modules can provide habitat for local animals while still controlling erosion. Blending practical and attractive materials helps your seawall fit naturally with your landscape and nearby properties.
Step-by-Step Process for Building a Seawall
After planning, budgeting, and permitting, the construction phase comes next. While I always recommend working with professionals, it helps to know the general sequence, so you can track progress and catch any issues early.
- Site Preparation: The area is cleared of brush, debris, and sometimes old retaining walls. Make sure any utilities are marked before beginning.
- Excavation: Trenching for seawall panels or footings is done using heavy equipment. This step is noisy and can uncover surprises like buried roots or rocks.
- Installing Supports: Piles or anchors go in first. For vinyl or steel walls, these support the wall’s weight and keep it from leaning or shifting over time.
- Placing Wall Panels or Stones: This involves fitting materials together tightly. Some panels are interlocking, while stone needs to be stacked and arranged carefully.
- Backfilling: Soil or crushed stone is filled behind the wall to help drainage and support the wall structure. Drains may be added to limit water pressure from behind the wall.
- Finishing and Clean-Up: Any capping, landscaping, or sodding comes last. I always walk the finished site to look for gaps, low spots, or drainage issues.
Following these steps, I keep communication open with my contractor and ask for status updates. Even small tweaks during the build, like using larger gravel for drainage, can make a big difference over time.
Expect construction to be noisy and sometimes messier than you’d like. Plan for limited access to your property and discuss staging areas for equipment. If possible, meet your contractor at the site a couple of times a week to address questions and make sure things are on track. Being hands-on saves time and avoids big problems later.
Common Challenges and How to Handle Them
From my own experience, a few issues tend to come up during seawall projects:
- Unstable Soils: Sandy or marshy areas may require extra piling or geotextile fabrics for added strength.
- Permit Delays: Sometimes agencies take longer than expected. Starting paperwork early and responding quickly to questions really helps.
- Weather: Tropical storms or periods of heavy rain can delay work and damage unprotected sites. Scheduling construction in a dry season is a good idea when possible.
- Erosion During Construction: Temporary measures like silt fences or hay bales keep runoff away from the dig site.
- Equipment Access: Small or narrow properties may need creative solutions for getting machinery to the shore. In some cases, crews use barge-based equipment to reach tight waterfronts.
- Material Shortages: Demand spikes in some seasons may mean waiting for the kind of panel, stone, or steel you want. Ordering ahead helps keep your project on schedule.
These issues don’t mean you can’t move forward, but they can slow things down or increase costs. Keeping a good checklist and staying involved in the project makes it easier to adjust if anything unexpected pops up.
Tips for Maintaining Your Seawall
Once your seawall is finished, a little upkeep goes a long way. I check my seawall every few months, especially after storms or higher than normal tides. Here are some things to watch for:
- Look for cracks, gaps, or leaning sections. Early repairs are cheaper in the long run.
- Check drainage outlets along the wall. They should remain clear and open.
- Keep vegetation trimmed, since roots can disrupt the wall’s structure.
- For stone or riprap walls, add more rocks if you spot areas that have shifted.
A regular maintenance routine keeps your seawall looking good and holding firm for many years. Make a calendar reminder to check for damage after unusually high tides or flooding. Quick fixes and routine care are key to a long-lasting wall.
Frequently Asked Questions
Here are answers to some questions I get about seawall planning and construction:
Do I need a professional engineer, or can I design the seawall myself?
Working with a licensed engineer is usually required, and it offers peace of mind that the wall will hold up over time. They make sure your design meets all regulations and handles site-specific challenges.
How long does a seawall project take from start to finish?
Most residential seawalls take about four to eight weeks if permits go smoothly and weather cooperates. Bigger or more complex walls take longer.
What can I do to reduce costs?
Smaller wall lengths cost less, and picking locally available materials can help keep costs down. Getting quotes from several contractors is really important, too.
Can I expand my seawall later?
Expanding is possible but adds new permit requirements. Building the wall in sections with expansion in mind from the beginning works best.
Making Your Seawall Project a Success
Planning a seawall is a process that requires good research and clear communication. The right design and careful construction can help you protect your property for decades. Talking with professionals, reviewing your budget, maintaining your wall, and following local rules are all steps that make for a smooth and lasting project. With the right plan, I’ve found that a seawall adds long-term value and peace of mind, whether I’m getting ready for hurricane season or just enjoying a sunset by the water.